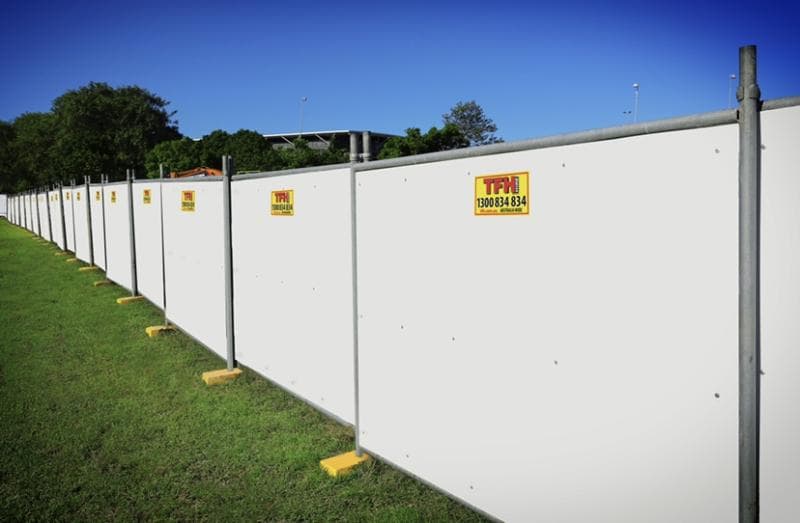
Temporary fencing is one of the few pieces of site infrastructure genuinely designed for self assembly: no footings, no fasteners into ground, no trade licence. What separates a run that stands all season from one that leans by Friday is sequence and parts. This is the complete walkthrough.
The parts, and what each one does
- Mesh panels (2.4m): the fence itself, handled by two people comfortably
- Fence blocks (25kg concrete filled): the feet, one shared between adjoining panels plus one at each end
- Clamps: the connection, two per panel joint, and the difference between a fence and a row of panels
- Braces: the wind insurance, angled supports for ends, corners, gates and exposed straights
- A combination lock or chain for the access point
Or skip the arithmetic: the 25m, 50m, 100m and 200m packages bundle panels, blocks and clamps in matched ratios.
Step one: walk the line first
Before unloading anything, walk the intended fence line. Mark corners, note slopes, find the buried surprises, taps, pits, tree roots, and decide where access will be. Ten minutes of walking prevents the classic error: a beautiful run that ends two panels short of the gate position.
Step two: place blocks, then panels
Set the first block, stand the first panel into it, then place the next block at the panel's far end and continue: block, panel, block, panel. Two people make this quick, one holds, one places. Keep the run tight to your marked line; drift compounds over distance, and a 100m run that wanders half a metre finishes somewhere embarrassing.
On slopes, step the panels rather than tilting them, a tilted panel loads its blocks unevenly and works loose.
Step three: clamp every joint, properly
Two clamps per joint, one upper, one lower, tightened to firm. This is the step impatience skips and wind exploits: unclamped or single clamped runs behave as individual sails instead of one braced system. The clamp count for N panels is roughly 2 × (N minus 1), plus spares, because spares vanish.
Step four: brace the weak points
Free ends, corners, gate sides and any straight over about 25m in exposed positions get a brace: angled back from the panel top to ground level on the windward side where possible, with its own block anchoring the foot.
The wind rule that governs everything: bare mesh breathes, covered mesh sails. If you add banner mesh or shade cloth, the run needs meaningfully more bracing and ballast, planned before the covering goes on, not after the first southerly. Covered corners and ends are the first to go.
Step five: build the access point deliberately
The simplest gate is an overlapped pair of panels, one clamped as a swinging leaf, or an unclamped panel section that lifts aside, secured with the lock. Whatever the format: it closes behind every use, or the fence is decorative. Position access where vehicles and people actually need it, which the step one walk already told you.
Step six: the weekly minute
Once standing, a run needs sixty seconds a week: clamps still tight, blocks still seated, braces still anchored, no new gaps at the junctions. After any real weather, walk it again. Panels moved for deliveries go back the same day, an open fence line protects nothing.
Common mistakes, ranked by cost
- Covering a run without re bracing (the expensive one)
- Skipping clamps (the fence that was never a fence)
- No braces on a windy corner
- The gate nobody planned
- Blocks on soft, unchecked ground
Get the parts
Panels, blocks, clamps and braces ship Australia wide, freight priced at checkout, or grab a complete package and start with the ratios right. Questions before you order: contact us or the FAQ.